微信小程序获取用户手机号码的解析示例
我们在做小程序开发的过程中,时常会要求录入用户身份信息,最常见的就是获取手机号码,当然可可以通过微信获取手机号码后可以减少很多操作,比如用户手机号码验证等,给用户发送手机验证码,本篇文章讲述的就是获取手机验证码。 获取用户手机号码 分为以下几步: 第一点击页面获取授权按钮 第二获取用户授权参数 第三根据加解密算法解密手
来源: https://www.ucloud.cn/yun/128377.html 作者: 3403771864 发布日期: 发布于2022-11-20 13:55
我们在做小程序开发的过程中,时常会要求录入用户身份信息,最常见的就是获取手机号码,当然可可以通过微信获取手机号码后可以减少很多操作,比如用户手机号码验证等,给用户发送手机验证码,本篇文章讲述的就是获取手机验证码。
获取用户手机号码 分为以下几步:
第一点击页面获取授权按钮
第二获取用户授权参数
第三根据加解密算法解密手机号码
接下来我们来实现以上三步
我们先看前段页面
  <!--index.wxml-->
  <view>
  <view >
  <button type="primary" open-type="getUserInfo"
  bindgetuserinfo="getUserProfile" bindtap="getUserProfile">获取用户信息</button>
  <button open-type="getPhoneNumber" type="primary"
  bindgetphonenumber="onGetPhoneNumber">获取手机号码</button>
  <view>
  <block>
  <view bindtap="bindViewTap">
  <image type="userAvatarUrl" src="{{userInfo.avatarUrl}}" mode="cover" ></image>
  </view>
  <Text >{{userInfo.nickName}}</Text>
  <text >{{userInfo.phone}}</text>
  <text wx:if="{{userInfo.gender==0}}">男</text>
  <text wx:if="{{userInfo.gender==1}}">女</text>
  <picker bindchange="bindPickerLingyuChange" value="{{index}}" range="{{array}}">
  <view wx:if="{{showLingyu==true}}">选择职业 </view>
  <text> {{array[index]}}</text>
  </picker>
  <picker bindchange="bindPickerAearaChange" value="{{i}}" range="{{items}}" range-key="name">
  <view wx:if="{{showAeara==true}}"class="tips">选择地区 </view>
  <text>{{items[i].name}}</text>
  </picker>
  <button type="primary" bindtap="bindViewTap">注册</button>
  </block>
  </view>
  </view>
  </view>
实现如下:
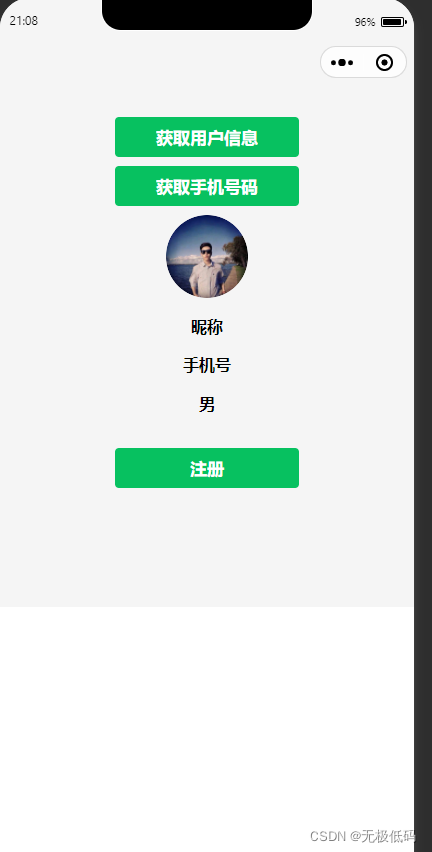
这里就不讲获取用户头像。
接下来我们看关键代码
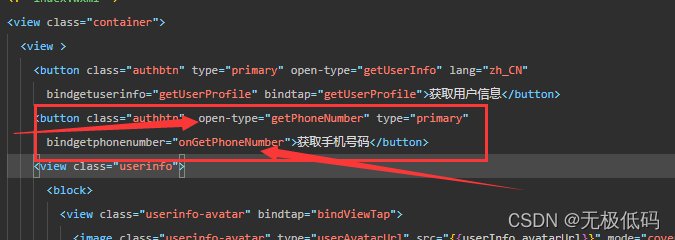
此处定义
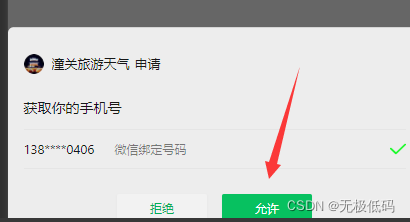
getPhoneNumber是微信官方要求,获取用户手机号码授权
onGetPhoneNumber是回调函数,获取授权后会回调到该方法,也就是获取的电话号码就在这个函数的返回值里面。这里的名称可以自己取,上面的getPhoneNumber可不能随便修改。
接下来我们通过服务器获取授权
上代码:这里是js调用我们自己的后台,我们的后台再调用微信服务端
  onGetPhoneNumber(e) {
  var that = this;
  wx.login({
  success (res) {
  if (res.code) {
  console.log('步骤2获检查用户登录状态,获取用户电话号码!', res)
  wx.request({
  url: '这里写自己的获取授权的服务器地址',
  data: {code: res.code},
  header: {'content-type': 'application/json'},
  success: function(res) {
  console.log("步骤三获取授权码,获取授权openid,session_key",res);
  var userphone=res.data.data;
  wx.setStorageSync('userphoneKey',userphone);
  //解密手机号
  var msg = e.detail.errMsg;
  var sessionID=wx.getStorageSync("userphoneKey").session_key;
  var encryptedData=e.detail.encryptedData;
  var iv=e.detail.iv;
  if (msg == 'getPhoneNumber:ok') {//这里表示获取授权成功
  wx.checkSession({
  success:function(){
  //这里进行请求服务端解密手机号
  that.deciyption(sessionID,encryptedData,iv);
  },
  fail:function(){
  // that.userlogin()
  }
  })
  }
  },fail:function(res){
  console.log("fail",res);
  }
  })
  } else {
  console.log('登录失败!' + res.errMsg)
  }
  }
  })
后台调用微信获取授权码
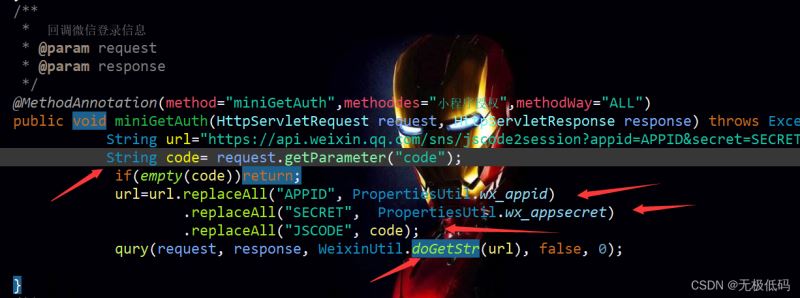
下面是我通过自己写的框架调用的,不懂的可以看下注释,不管是spring还是servlet只要请求能进到该方法即可,所以重点关注中间部分,把参数值传正确即可
  /**
  * 回调微信登录信息
  * @param request
  * @param response
  */
  @MethodAnnotation(method="miniGetAuth",methoddes="小程序授权",methodWay="ALL")
  public void miniGetAuth(HttpServletRequest request, HttpServletResponse response) throws Exception{
  String url="https://api.weixin.qq.com/sns/jscode2session?appid=APPID&secret=SECRET&js_code=JSCODE&grant_type=authorization_code";
  String code= request.getParameter("code");
  if(empty(code))return;
  url=url.replaceAll("APPID", PropertiesUtil.wx_appid)
  .replaceAll("SECRET", PropertiesUtil.wx_appsecret)
  .replaceAll("JSCODE", code);
  qury(request, response, WeixinUtil.doGetStr(url), false, 0);
  }
下面是工具类方法WeixinUtil.doGetStr(url)
 /**
  * get请求
  * @param url
  * @return
  * @throws ParseException
  * @throws IOException
  */
  public static JSONObject doGetStr(String url) throws ParseException, IOException{
  DefaultHttpClient client = new DefaultHttpClient();
  HttpGet httpGet = new HttpGet(url);
  JSONObject jsonObject = null;
  HttpResponse httpResponse = client.execute(httpGet);
  HttpEntity entity = httpResponse.getEntity();
  if(entity != null){
  String result = EntityUtils.toString(entity,"UTF-8");
  jsonObject = JSONObject.fromObject(result);
  }
  return jsonObject;
  }
这个值可以返回给前端,前端可以收到如下参数
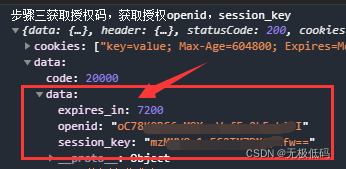
接着我们通过授权之后,获取第三个参数iv,调用下面方法进行服务端解密
that.deciyption(sessionID,encryptedData,iv);
 deciyption(sessionID,encryptedData,iv){
  var that = this;
  console.log("步骤4根据秘钥解密手机号码sessionID:",sessionID);
  wx.request({
  url: '解密地址',
  data: {
  sessionID: sessionID,
  encryptedData:encryptedData,
  iv: iv
  },
  header: {'content-type': 'application/json'},
  success: function(res) {
  console.log("79",(res.data.code==20001));
  if(res.data.code==20001){//这里不用管,可以删掉,我的框架里返回值20001是授权失败,可按照自己逻辑处理
  console.log("获取失败,重新获取",res);
  that.setData({
  showPhone:true,
  })
  }else{
  console.log("line 79", JSON.parse(res.data.data));
  var json= JSON.parse(res.data.data);
  wx.setStorageSync('userphone', JSON.parse(res.data.data).phoneNumber);
  console.log("步骤5解密成功",res.data.data);
  that.setData({
  showPhone:false,
  "userInfo.phone":wx.getStorageSync('userphone')
  })
  }
  },fail:function(res){
  console.log("fail",res);
  }
  })
  }
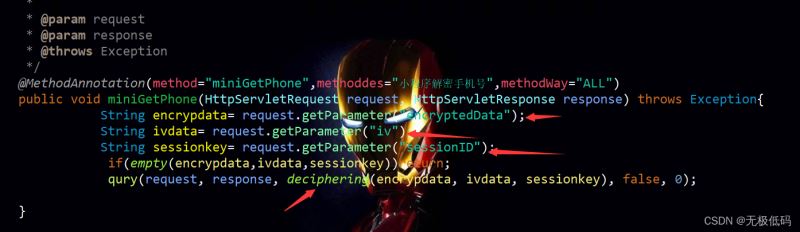
服务端解密代码
 /**
  *
  * @param request
  * @param response
  * @throws Exception
  */
  @MethodAnnotation(method="miniGetPhone",methoddes="小程序解密手机号",methodWay="ALL")
  public void miniGetPhone(HttpServletRequest request, HttpServletResponse response) throws Exception{
  String encrypdata= request.getParameter("encryptedData");
  String ivdata= request.getParameter("iv");
  String sessionkey= request.getParameter("sessionID");
  if(empty(encrypdata,ivdata,sessionkey))return;
  qury(request, response, deciphering(encrypdata, ivdata, sessionkey), false, 0);
  }
deciphering解密方法
  public static String deciphering(String encrypdata,String ivdata, String sessionkey) {
  byte[] encrypData = Base64.decode(encrypdata);
  byte[] ivData = Base64.decode(ivdata);
  byte[] sessionKey = Base64.decode(sessionkey);
  String str="";
  try {
  str = decrypt(sessionKey,ivData,encrypData);
  } catch (Exception e) {
  // TODO Auto-generated catch block
  e.printStackTrace();
  }
  return str;
  }
  public static String decrypt(byte[] key, byte[] iv, byte[] encData) throws Exception {
  AlgorithmParameterSpec ivSpec = new IvParameterSpec(iv);
  Cipher cipher = Cipher.getInstance("AES/CBC/PKCS5Padding");
  SecretKeySpec keySpec = new SecretKeySpec(key, "AES");
  cipher.init(Cipher.DECRYPT_MODE, keySpec, ivSpec);
  return new String(cipher.doFinal(encData),"UTF-8");
  }
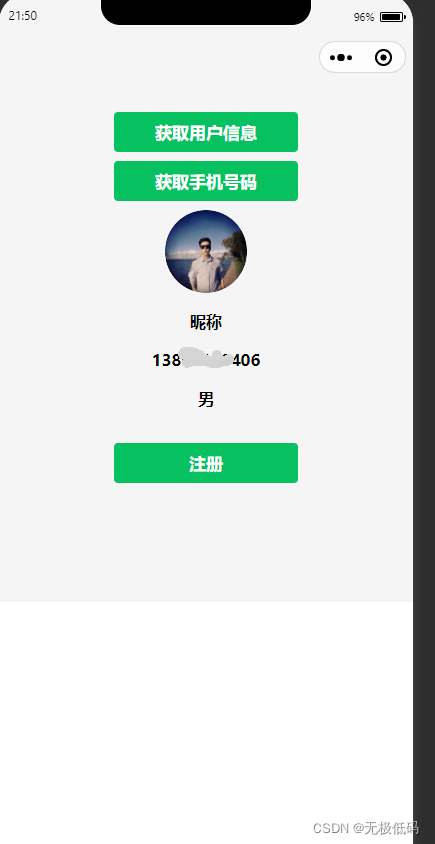
最终效果
内容讲到这里为止,欢迎大家关注更多精彩内容。